The locale on a Linux system is a set of environment variables. Your terminal and various applications will query these variables to figure out what country, language, and character encoding settings your system is configured to use. The locale on your system should reflect your current country and language for best results.
In this tutorial, you will learn how to check the current locale, generate new locales, and switch to a different locale on Ubuntu Linux.
Using locale Command
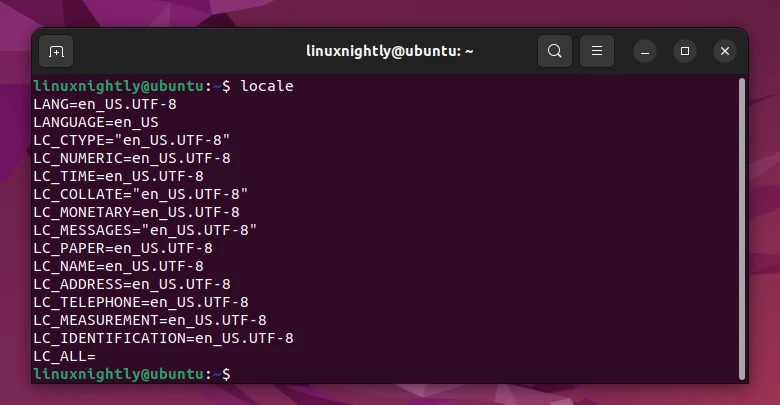
Example 1. If you want to know which locale you have set by default in your Ubuntu system, use the following command:
$ locale
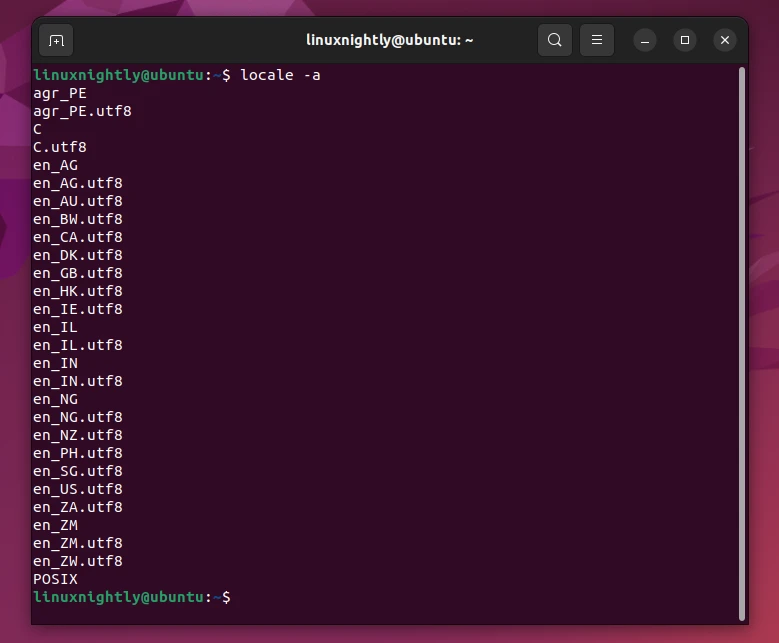
Example 2. You can see what locales are currently generated for your system with:
$ locale -a
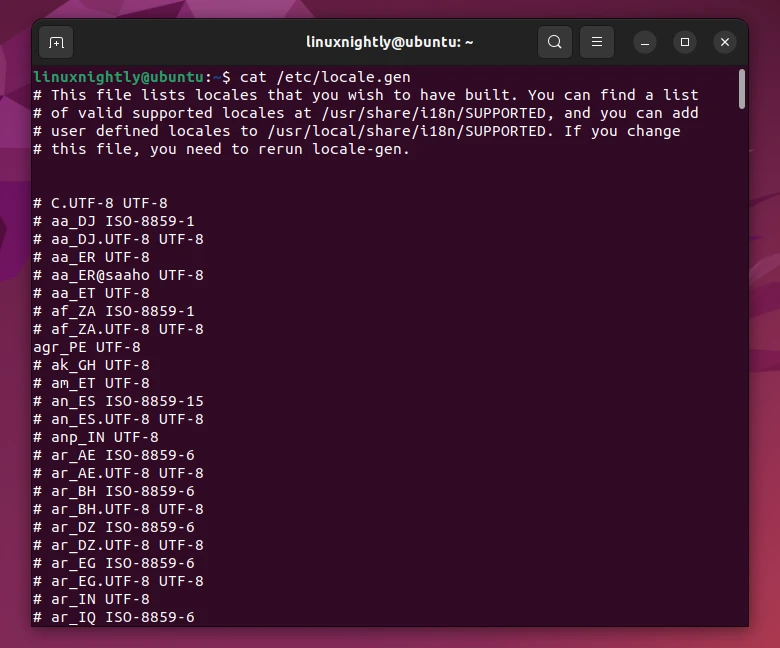
Example 3. If you want to see what locales are available in your system to install, you can execute:
$ cat /etc/locale.gen
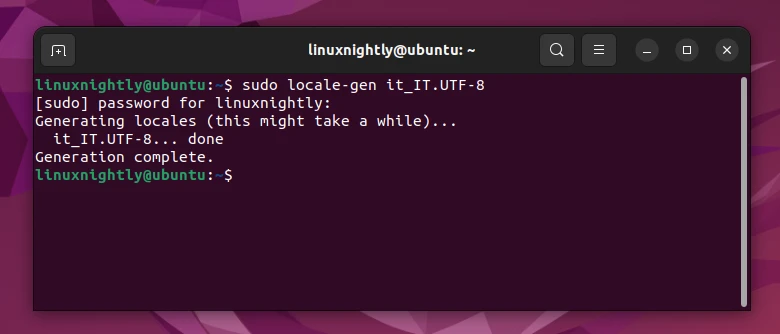
Example 4. As an example, we are going to generate and install the Italian locale. So taking the output from the command above as a guide, the command to execute will be as follows:
$ sudo locale-gen it_IT.UTF-8
Example 5. Next, to change the system locale (English) to Italian, we use this command:
$ localectl set-locale LANG=it_IT.UTF-8
Example 6. Lastly, reboot the system for the locale changes to take effect:
$ reboot
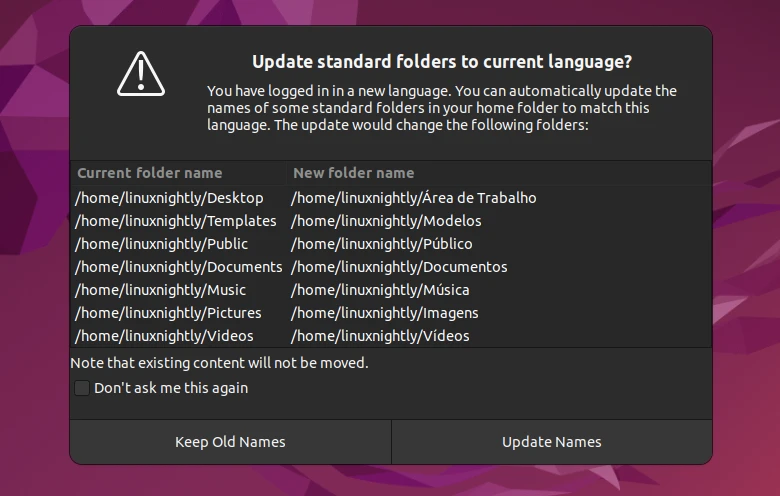
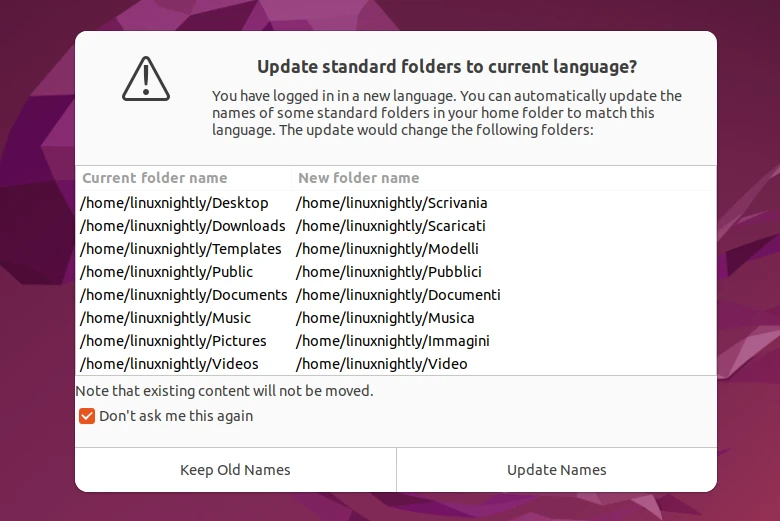
When your system has rebooted, you will see a warning message asking if you want to update the language of the standard files. You can confirm this or not as you desire.
Finally, to verify that your system locale has been changed sucessfully you can use these commands:
Check locale:
$ locale
Or check LANG variable:
$ echo $LANG
Changing Locale via Interactive Mode
Alternatevely, you can also use the interactive mode to change your system locale. To do this, follow the next steps.
Step 1. Open the interactive mode by using the next command.
$ sudo dpkg-reconfigure locales

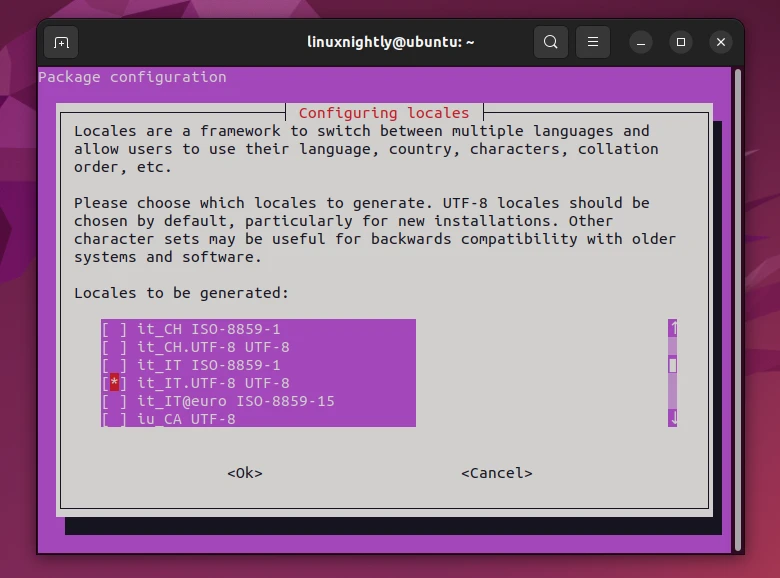
Step 2. Now, we choose the locale we want to install. You can do this by interacting with the up and down arrows on your keyboard. Once you found the one you wish to install, hit space, then hit Enter.
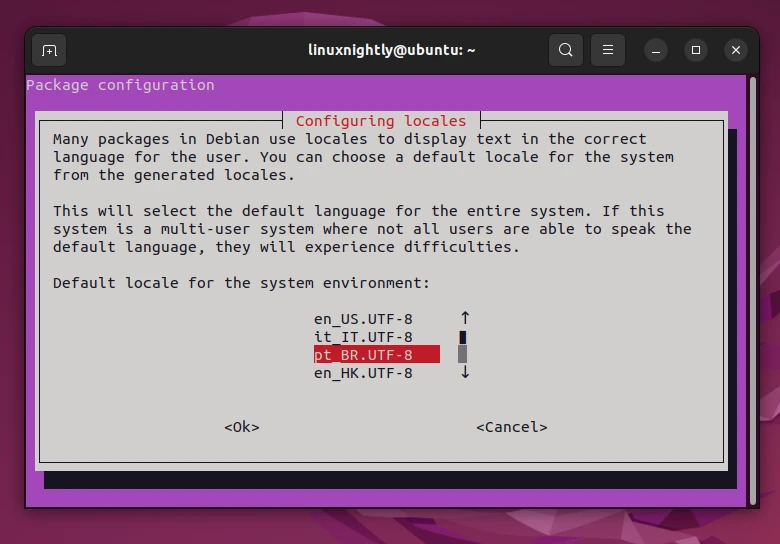
Step 3. Lastly, a new window will be shown that will help you change the default locale for your system. You can do this by interacting with the up and down arrows on your keyboard, then press Enter.
Step4. Wait until the generation is done, and then reboot your system.
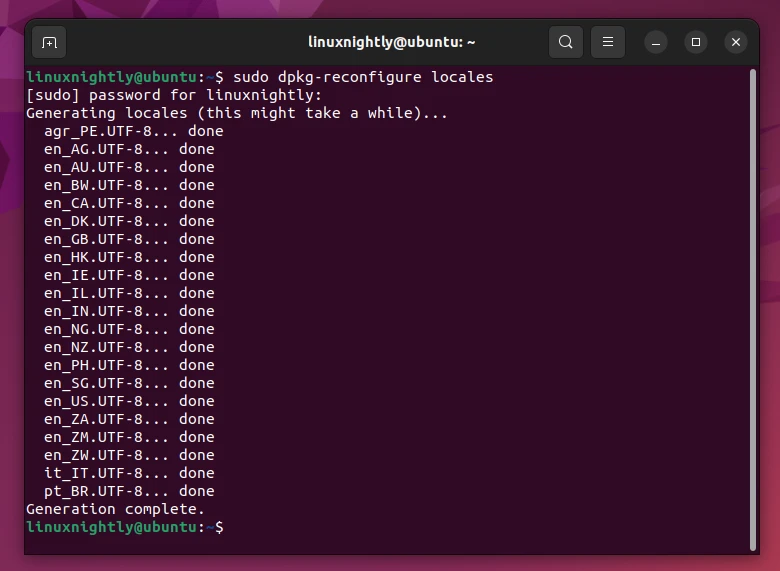
$ reboot
Finally, when restarted, you will be asked to change the language of the default or standard files. You can confirm this or not if you want.