
Spotify has become an incredibly popular way to stream music. It’s a cross-platform application, meaning it will work on Linux the same way it works on your phone and other devices. In this tutorial, you will learn how to install Spotify on Ubuntu via apt, snap, and GUI.
Install Spotify via Terminal (apt)
Step 1. First, add the official PPA to your system.
$ curl -sS https://download.spotify.com/debian/pubkey.gpg | sudo apt-key add -
$ echo "deb http://repository.spotify.com stable non-free" | sudo tee /etc/apt/sources.list.d/spotify.list
Step 2. Once done, you can install Spotify with apt package manager.
$ sudo apt update
$ sudo apt install spotify-client
Step 3. To open Spotify from the terminal, simply use:
$ spotify
Step 4. If you want to remove Spotify, execute:
$ sudo apt autoremove --purge spotify-client
$ sudo rm /etc/apt/sources.list.d/spotify*
Install Spotify Using Snap
Ubuntu has the Snap package manager installed by default. The advantage of this method is that the app will automatically be kept up-to-date for you.
Execute this command to install Spotify:
$ sudo snap install spotify
In case you want to remove Spotify:
$ sudo snap remove spotify
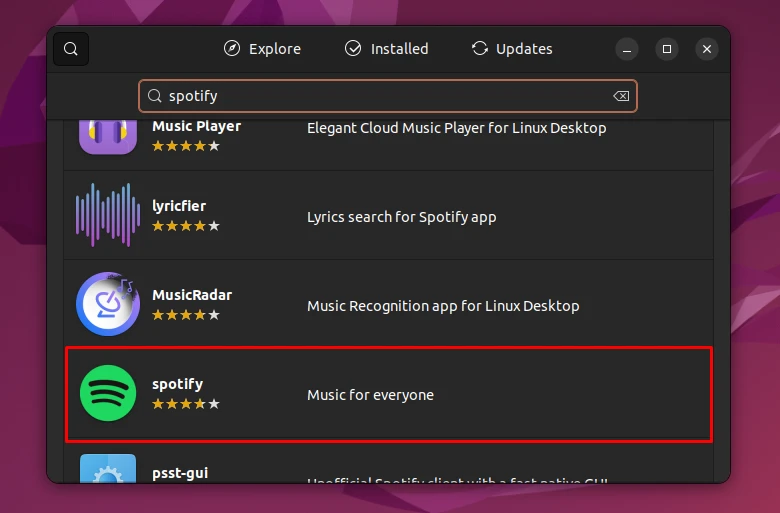
Install Spotify via GUI Software Center
Step 1. Open Ubuntu Software from the Activities menu or desktop shortcut.

Step 2. Search for Spotify.
Step 3. Finally, click on Install.
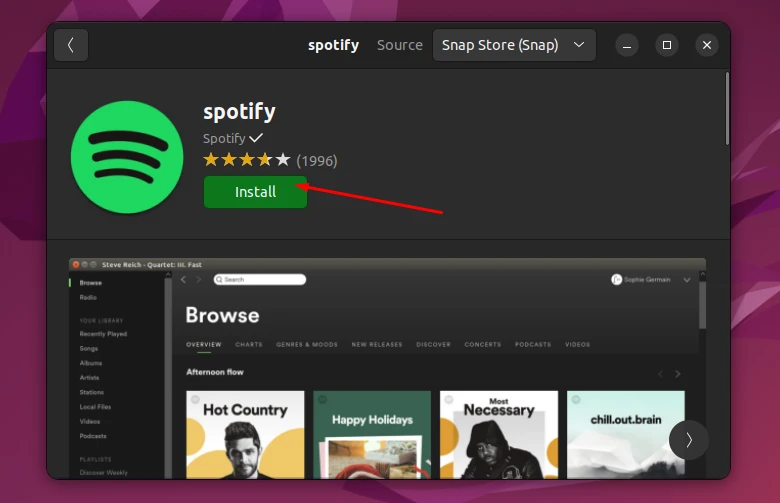
Enter your administrator credentials, and then you are all set to jam to your favorite music on Spotify.