
After you’ve installed AlmaLinux, VirtualBox Guest Additions will help you get the most out of your AlmaLinux virtual machine. It gives you automatic resolution scaling, a shared clipboard between the host and VM, and drag and drop ability. The step by step instructions below will explain how to install VirtualBox Guest Additions on AlmaLinux.
1. First, we’ll use the system’s package manager to install the prerequisite packages. Use your root account to execute the following command.
# dnf install kernel kernel-devel kernel-headers gcc make perl elfutils-libelf-devel tar bzip2
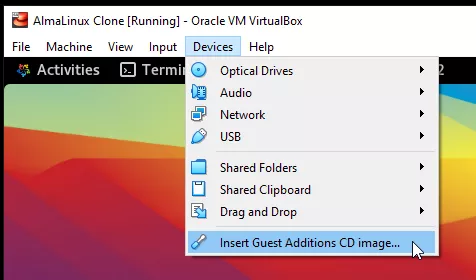
2. Next, insert the Guest Additions CD into the VM by clicking on Devices > Insert Guest Additions CD Image.
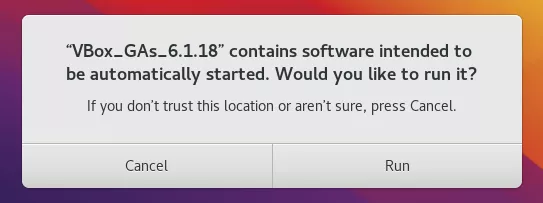
3. You should see a notification pop up (shown below), asking if you’d like to run the software. We recommend clicking “cancel” and running the program manually, as we show in the following steps.
4. Open a terminal as your normal user and change directory to where the Guest Additions image has been mounted.
$ cd /run/media/`whoami`/VB*
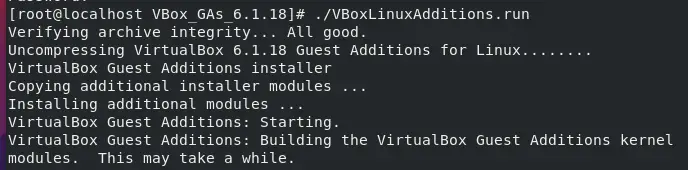
5. Finally, use your root account to run the installation.
$ su
# ./VBoxLinuxAdditions.run
6. That’s all there is to it, but you’ll need to reboot the virtual machine before you can enjoy the new benefits.
$ reboot
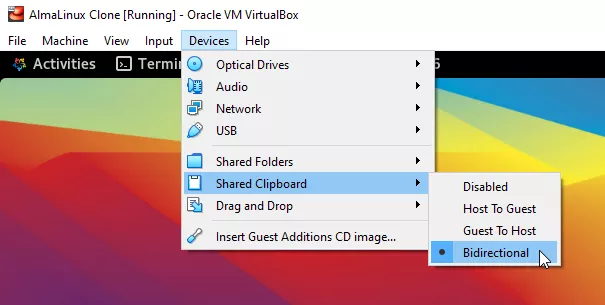
7. Don’t forget that some features need to be enabled before you can use them.
Troubleshooting
You may encounter the following error if your system updated the kernel version in step 1.
Kernel headers not found for target kernel
If that’s the case, make sure you run the command from step 1, reboot AlmaLinux, and then try installing Guest Additions once more.
