Visual Studio Code is a favorite IDE among many programmers. Although it’s developed by Microsoft, it’s also quite popular on Linux systems.
In this tutorial, you will learn how to install Visual Studio Code on Ubuntu Linux via GUI, apt package manager, and snap.
Using GUI method
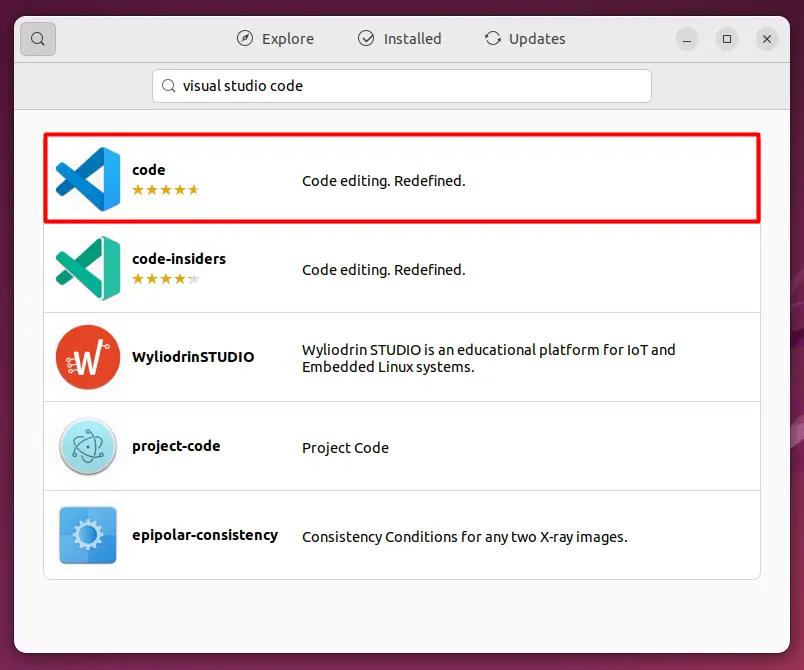
Step 1. Open the Ubuntu Software application and search for Visual Studio Code. Click the first option as shown below.

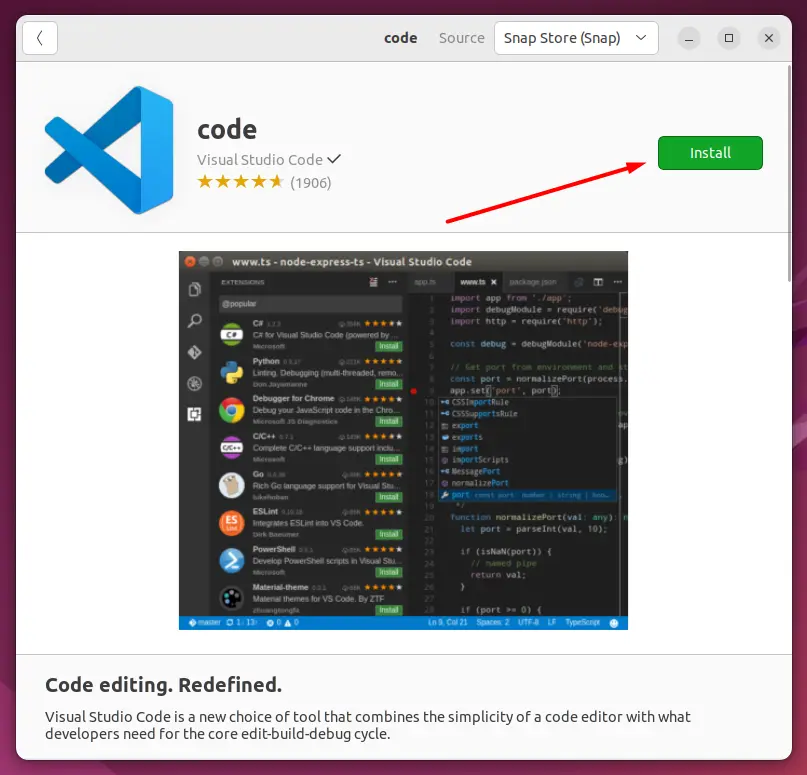
Step 2. Finally click the install button to start installing VS code.

Using snap package manager
The Snap package manager can install Visual Studio Code on any Linux distribution. One advantage of using snap is that the software will stay up to date automatically.
To install Visual Studio Code using snap follow the next command:
$ sudo snap install --classic code
Using apt package manager
Step 1. First, you will need to run the following commands to install the dependencies for Visual Studio Code.
$ sudo apt update
$ sudo apt install software-properties-common apt-transport-https wget -y
Step 2. Next, use wget to import the Microsoft GPG key.
$ wget -O- https://packages.microsoft.com/keys/microsoft.asc | sudo gpg --dearmor | sudo tee /usr/share/keyrings/vscode.gpg
Step 3. Then, enable the Visual Studio Code repo which will allow us to install the program.
$ echo deb [arch=amd64 signed-by=/usr/share/keyrings/vscode.gpg] https://packages.microsoft.com/repos/vscode stable main | sudo tee /etc/apt/sources.list.d/vscode.list
Step 4. And finally we can install the Visual Studio Code IDE.
$ sudo apt update
$ sudo apt install code
Uninstalling Visual Code Studio
To uninstall Visual Code Studio, you can uninstall it manually by going to the Ubuntu Software application.
If you installed it using the apt package manager, use this command to remove it:
$ sudo apt remove code -y
If you used snap package manager simply follow the next command to remove it:
$ sudo snap remove code -purge

