Windows Subsystem for Linux (WSL) allows Windows users to run virtualized Linux on top of their Windows installation. WSL integrates well with the Windows file system, allowing you to seamlessly access your Windows files from within the Linux terminal.
In this tutorial, you will learn how to install Ubuntu in WSL for Windows 11 and Windows 10, as well as how to update Ubuntu in WSL and update the WSL system component.
Install Ubuntu in WSL
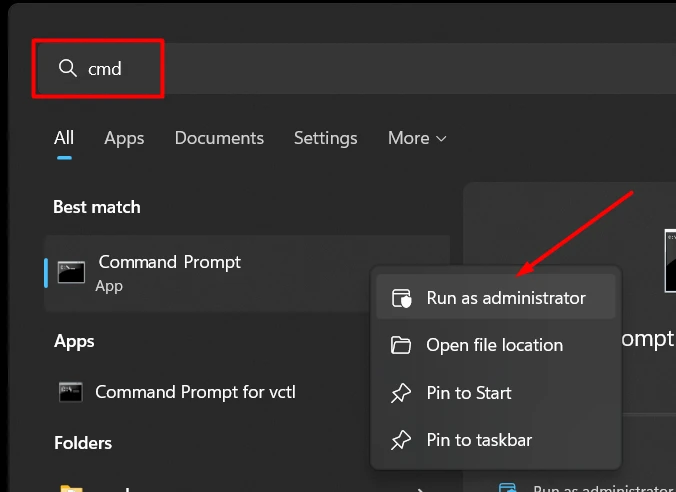
Step 1. Go to your Start menu and open a command prompt by searching for ‘cmd’. Right click on the option and press ‘Run as administrator.’
Step 2. Type the following command to begin installing WSL.
> wsl --install
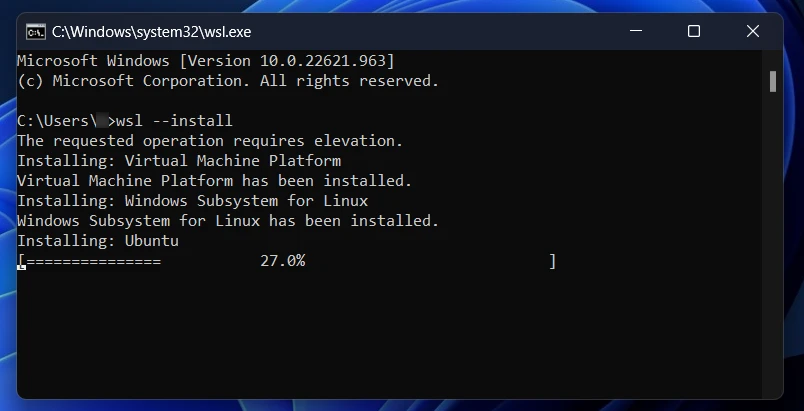
This command will automatically enable and install Virtual Machine Platform and Windows Subsystem for Linux, so that you don’t need to fiddle with turning additional Windows features on in the GUI menus.
Step 2. In case you want to install a different distro other than the default (Ubuntu), you can see available options with:
> wsl --list --online
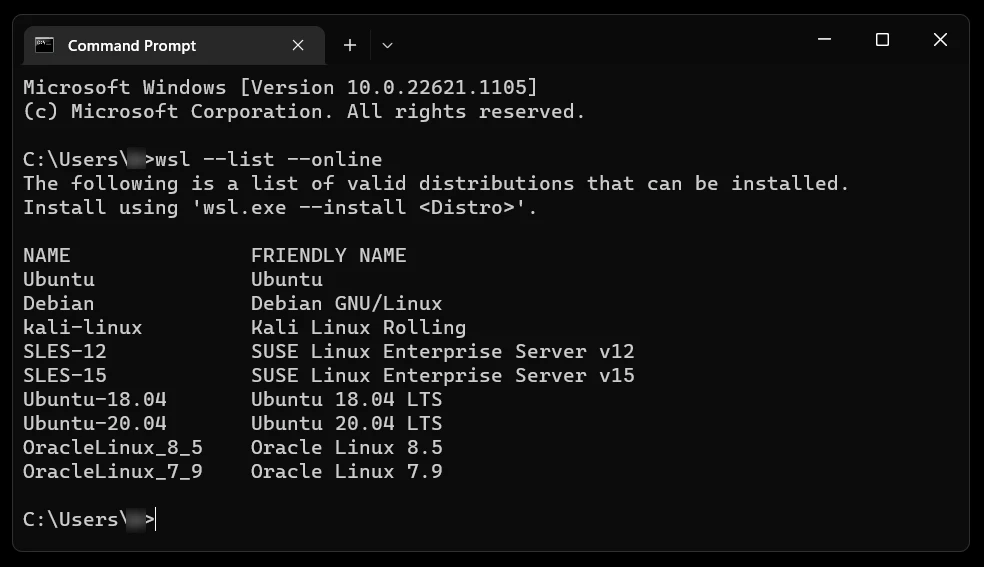
And install a particular distro with the -d option:
> wsl --install -d Debian
Step 3. When the command finishes, it will ask you to reboot so you can start using WSL.
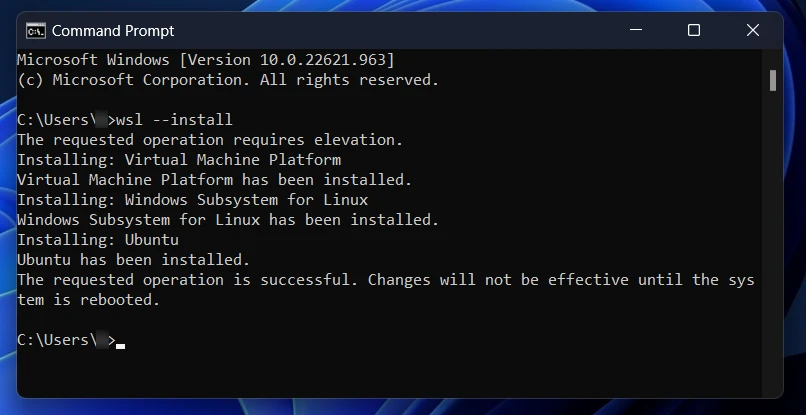
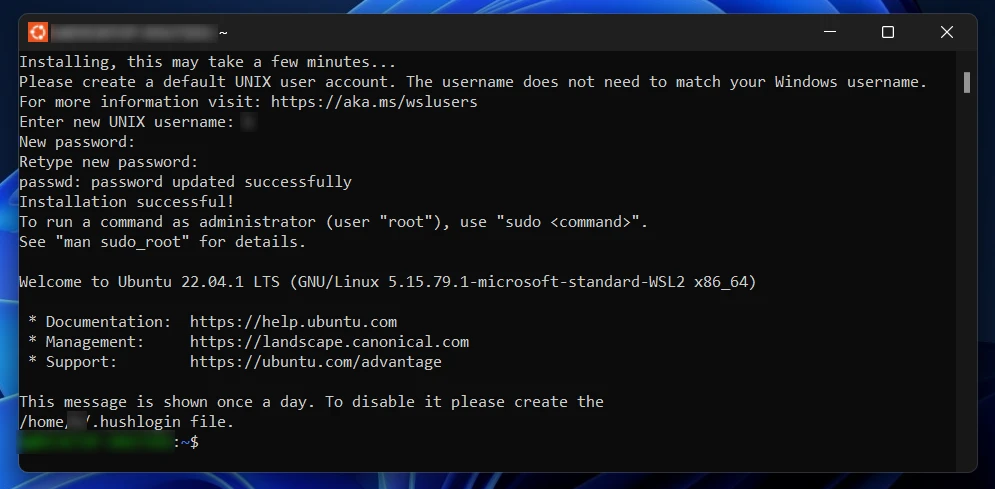
Step 4. After rebooting, type ‘Ubuntu’ in the Start menu to begin using WSL. It will go through some initial setup, where you pick a username and password (they do not need to match your Windows settings).
Updating WSL
In order to update WSL, you can run the following command in Windows command prompt.
> wsl --update

This command will also resolve the following error which occurs when WSL is out of date:
WslRegisterDistribution failed with error: 0x800701bc
Error: 0x800701bc WSL 2 requires an update to its kernel component.

As for updating Ubuntu, you can run the usual commands to keep it updated. Open Ubuntu for WSL and type:
$ sudo apt update
$ sudo apt full-upgrade

